Zeroshell Download Vmware For Mac
Mitutoyo 543 252 manual download. User’s Manual No. 99MAH016B1 SERIES No. 543 ID-H0530/0560 Digimatic Indicator User’s Manual Read this User’s Manual thoroughly before operating the instrument. After reading, retain it close at hand for future reference. After the initial zero-setting with the Origin button, the repeated absolute positioning is no longer necessary over entire batterylife. Similar in size to standard Series 2 dial indicators. Inspection certificate is included. Send your friend a link to this product. Your Name:. Your Email:. Your Friend's Email:. ARGENTINE.
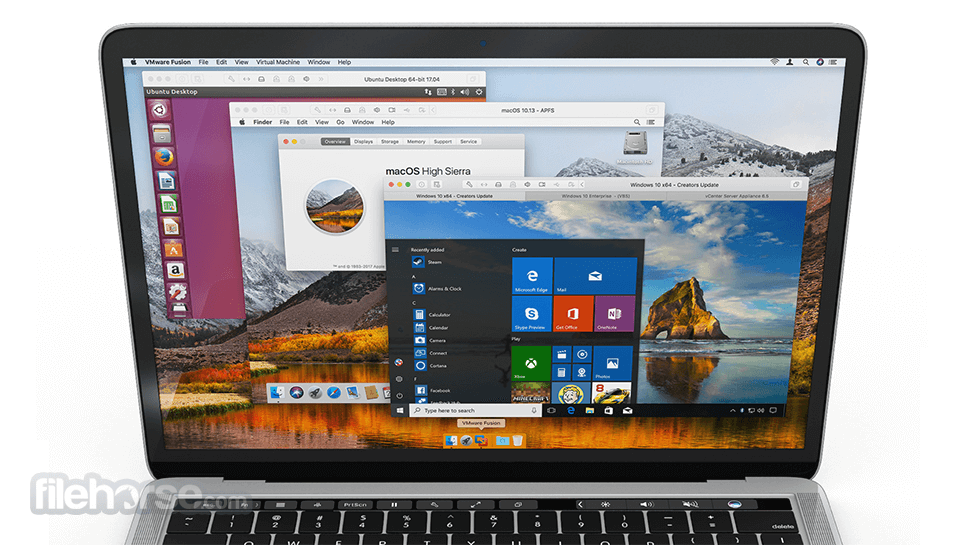
VMware Horizon Clients for Windows, Mac, iOS, Linux, and Android allow you to connect to your VMware Horizon virtual desktop from your device of choice giving you on-the-go access from any location. Click here for a list of certified thin clients, zero clients, and other partner solutions for VMware Horizon. For my installation, I created a VMware virtual machine with 128 MB of ram and a.1 GB. Note: If you already have a ZeroShell database, skip to the Create a new CA section. To configure the client running Mac OS 10.4, start the 'Internet Connect' program. Your browser will download a file called 'TrustedCA.pem'.
Table of Contents |
If you are using ZeroShell v2 with Subscription or ZeroShell v3 or higher. You can use the Installation Manager to install ZeroShell to the Hardrive.
If you are using ZeroShell v1 or ZeroShell v2 without a Suscription. You will have to do a process similar to the USB Media to install ZeroShell to a Hard Drive.
Make Media with Windows OS
Software Needed
Physdiskwrite - an utility for writing images to HD or USB Device
This assumes you already downloaded the Zeroshell IMG Distrobution
If your computer does not support booting off a USB Device and has an Optical Drive. Use [PLoP Boot Manager to boot off the CD then boot to the USB. This will allow writing to Disk and saving information.
Using PhysDiskWrite GUI
Note: PhysDiskWrite GUI requires Microsoft .Net v3.5
1st Steps
- Install the Hard Drive into a computer
- Extract PhysDiskWrite Archive
Clean Device of Partitions
- You must remove all partitions on the Hard Drive.
- Open a Command Prompt with Administrators Right (Right-Click and Run as Administrator for Vista or Higher)
- Type in 'diskpart'
- Type in 'list disk'
- Type in select disk <Number of Disk your Hard Drive is on> Make sure you choose the right disk based on Size of Drive.
- Type in 'clean' - Sometimes it will give an Access Denied error if it does make sure you do not have another window open that is using the device
- Type in 'exit'
- Exit out of the Command Prompt
Write the IMG File
- Load the PhysDiskWrite GUI Interface with Administrator Rights
- Then right-click on the correct Disk, be sure to choose you right disk.
- Goto Image laden Menu and choose Offnen
- Browse to your IMG file you have and select it and click open
- If a dialog pops up put check in Remove 2GB restriction and click OK.
- Select Yes in Dialog Box
- It will open a Command Prompt Box and run the program and writes the USB Device
- Your Installation Media is now complete.
- Shut down your computer and remove the Hard Drive and install it into the computer to be used for ZeroShell.
Using PhysDiskWrite
1st Steps
- Install the Hard Drive into a computer
- Boot Computer
- Extract PhysDiskWrite Archive
- Copy the ZeroShell IMG File to the Directory PhysDiskWrite was extracted to.
Clean Device of Partitions
- You must remove all partitions on the Hard Drive.
- Open a Command Prompt with Administrators Right (Right-Click and Run as Administrator for Vista or Higher)
- Type in 'diskpart'
- Type in 'list disk'
- Type in select disk <Number of Disk you are using> Make sure you choose the right disk based on Size of Drive.
- Type in 'clean' - Sometimes it will give an Access Denied error if it does make sure you do not have another window open that is using the device
- Type in 'exit'
Write the IMG File
- Goto you extracted physdiskwrite to.
- Type 'physdiskwrite.exe -u <Name of Zeroshell IMG File>.img'
- Choose the Correct Disk.
- Making sure you have the write disk confirm the overwrite of contents.
- You will see it writing the file to the device.
- After it is complete type 'Exit'
- Your Installation Media is now complete.
- Shut down your computer and remove the Hard Drive and install it into the computer to be used for ZeroShell.
Make Media with Linux OS
For this guide purposes I will be using a Debian style Linux. Debian Style includes Debian, The Ubuntu's, Linux Mint, and numerous others
- Install the Hard Drive into a computer
- Boot into your Linux OS
- Open a Terminal
- Type 'sudo su' and then enter your password when prompted
- Type in 'fdisk -l'
- Look for the /dev/<Drive name> of the drive you are going to use. Should be a sd or hd then a letter
- Type fdisk /dev/<drive name>
- Type 'p' and see how many partitions are on the drive
- Type 'd' and put the partition number in and repeat until all partitions are gone
- Type 'p' and make sure they are all gone
- Type 'w' to write the changes
- Type 'dd < /path/to/(ZeroShell IMG File Name) > /dev/<Drive Name>
- Wait until the command Prompt returns
- Once it returns type Exit twice
- With Linux you can resize you storage partition with gparted to increase the storage size.
- Shut Down you Computer and remove the Hard Drive and Install it into the computer that will be your ZeroShell Box
No Operating System
Windows server 2003 enterprise edition product key windows 10. It is possible to install ZeroShell on a computer with No OS at all.
If you are using ZeroShell v2 with Subscription or ZeroShell v3 or higher you do not to do this.
What is Needed
- A Linux Live CD Distrubution - As Before I use a Debian Style release for the primer.
- 2 USB Drives or 1 CD and 1 USB Drive -
- For Windows: Get Pendrive Linux to Write ISO to USB Drive

Preparation
Windows
USB
- Download PenDriveLinux and run it
- Write the LiveCD ISO to one of the USB Drives.
- Copy the ZeroShell IMG File to the Second USB Drive
CD
- Use the a program to write a LiveCD ISO to a CD.
- Copy the ZeroShell IMG File to the USB Drive
Linux
USB
- Use the program that comes with your OS to write a LiveCD ISO to one of the USB Drives.
- Copy the ZeroShell IMG File to the Second USB Drive
CD
- Use the program that comes with your OS to write a LiveCD ISO to a CD.
- Copy the ZeroShell IMG File to the USB Drive
Installation
- Boot the Computer with the Live Media of your choice
- Run the Live Desktop without Installation
- When it is Booted onto the Desktop insert the USB Drive with the ZeroShell IMG File
- Follow the Make Media with Linux OS - Just remember the IMG File is on the USB and not the Hard Drive
- After you are done make sure you remove all USB Drives and when you reboot ZeroShell will be running
Return to the Installation Guide
| Select Version | |
|---|---|
| Description | VMware Horizon Client for macOS |
| Notes | |
| Documentation | |
| Release Date | 2019-12-12 |
| Type | Product Binaries |
Product Resources
| Product/Details | ||
|---|---|---|
VMware Horizon Client for macOS Read More File size: 43.76 MB File type: Mac disk image Name: VMware-Horizon-Client-5.3.0-15225262.dmg Release Date: 2019-12-12 Build Number: 15225262 VMware Horizon Client for macOS SHA1SUM: a284afe0d6caa611028dd0260109db0c50838b74 SHA256SUM: 4517df1db381b3e326e00d5e3c69248489cd5994e587defe08440826ac1ce35e | ||
| Driver / Tool | Release Date |
|---|
| Product | Release Date | ||||
|---|---|---|---|---|---|
| VMware Horizon Client Open Source | |||||
| |||||
| Custom ISO | Release Date |
|---|
Information about MD5 checksums and SHA1 checksums and SHA256 checksums .